Table of Content
You can create soaps using animal-by products only, natural ingredients only, or you can mix with ingredients. Being a competitive space, you will need to experiment with scents, moisturizers, and colors to stand out. You can easily get bar soap making training in Kenya from experts or learn vocational training. In this article, we are going to show you how to start bar soap and liquid soap making business in Kenya. To succeed at this business, you will need to develop quality soaps, control your pricing and target the right customers. Melt and pour is the perfect place to start learning about soap making.
They even offer kits for some projects so you can buy exactly what you need without any guesswork. Here is a link to the detailed recipe and step by step instructions. If you have a microwave safe bowl, a knife, and a microwave – you have all you need as far as tools go. You can even use a double boiler instead of a microwave if you are so inclined. If you have a spray bottle of rubbing alcohol that’s also a plus.
Setting and molding the soap
Playing with the fragrances, oil types, and water alternatives in existing soap recipes can help you come up with a recipe of your own. Different oils can lead to a different finished product. By trying out varied recipes that use different oils, you can get a feel for the type of soap each oil produces. Then, when you’re comfortable, you can start experimenting. Soap doesn’t need a scent to get your skin clean.
Lye and water release heat and fumes when mixed together. Make sure you’re ready for this before continuing. Ventilate your area and consider wearing a dust mask. Never pour the water into the lye or dump all of the lye into the water at once. This can lead to a lye explosion splattering everything with dangerous chemicals. Lye is very caustic, so handle it carefully.
Step 3: Calculate the Saponification Value
If you are a soap maker trying to turn a profit, you can’t just give it away by trying to compete on price alone. You are using your hard-won skills and investing your time and money to create... Our next recipe and set of instructions come from the experts at Pro Candle Supply. "I just read this through and I think it is one of the best recipes with pictures also." This article was co-authored by wikiHow Staff.

Heat the soap on a stovetop or in your microwave to about 120 °F (49 °C). Move the melting soap around with a rubber spatula to help it melt. Don’t let it sit still for more than 30 seconds or else it may burn. Stir it until it reaches a smooth consistency.If the soap batter looks thick and dry, mix a little bit of water into it. Add water gradually, stirring the batter to keep it at a liquid consistency.
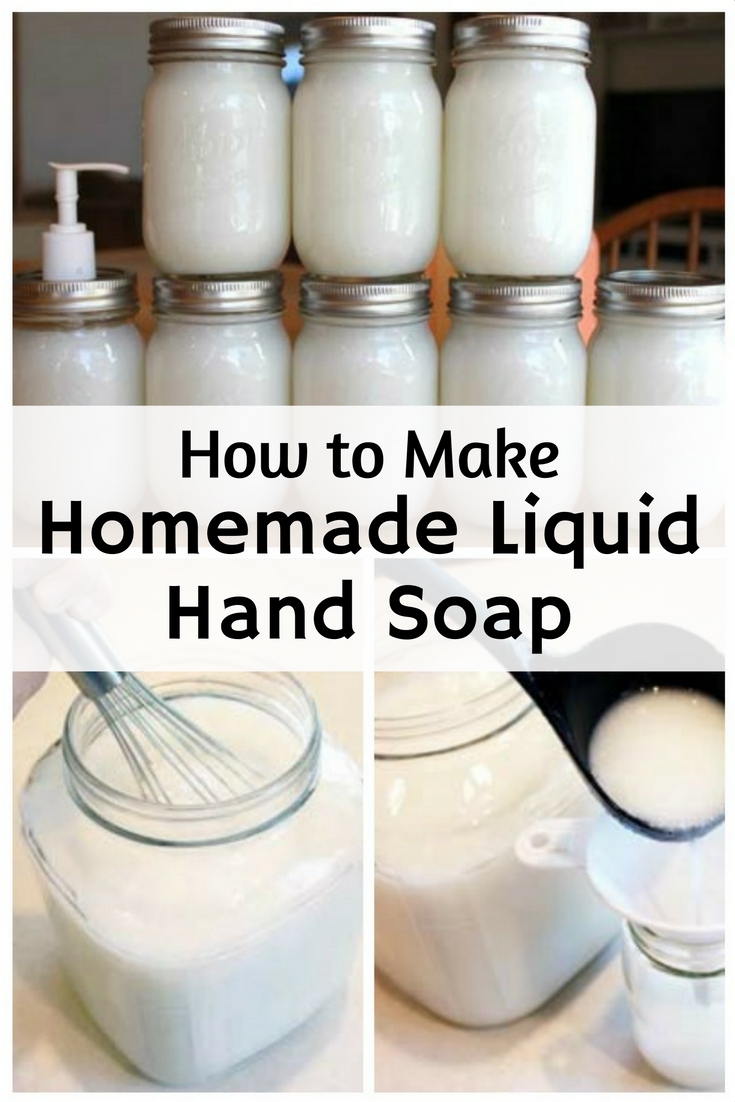
How to Make Liquid Soap – Simple Life Hacks You Need to Know
Try dropping it from a low height to knock out stubborn air bubbles. If you halved a recipe to make a small batch of soap, remember to halve every ingredient accordingly. Soap bases begin to burn around 140 °F (60 °C). Use a kitchen thermometer as needed to track the temperature. WikiHow marks an article as reader-approved once it receives enough positive feedback.

However, this doesn’t mean that your soap doesn’t work. You can add more glycerin if you want to achieve sudsy lather. The heat will melt down the fats into liquid form so that they can solidify with the coconut oil.
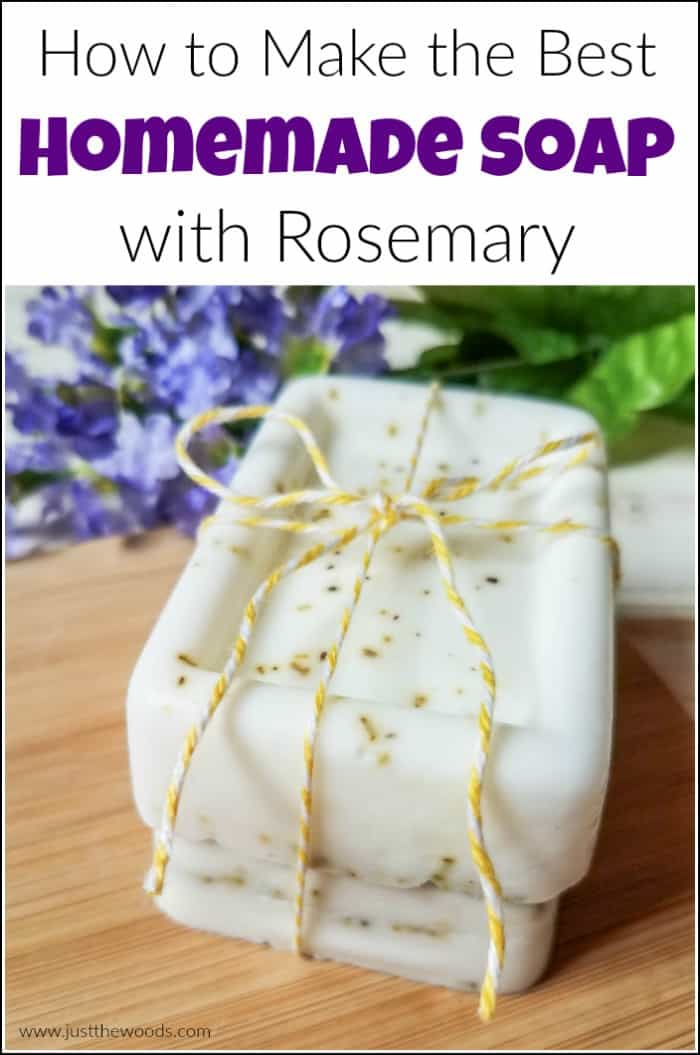
How to Make Homemade Soap Bars for Beginners
Health officials will visit your premises and can make recommendations on the safety measures in soap making. In just 24 hours you will have your fresh bar of soap…but that will not be ready for use yet. You will need to give it the next 4 weeks to cure after which it’ll be ready for use. Let the mixture cool until the point bubbles subside. Add the 15 liters of cold water to the mixture until well mixed.
If there is too much sodium or potassium hydroxide in soap, it can cause irritation and sometimes even burning to the skin. This is because the glycerin in the soap is bonding with the moisture in the air and then to your skin. We decided to use 70% Walmart GV shortening and 30% Coconut oil, but you should come up with your own recipe. We used a soap calculator online to calculate how many grams of the Walmart GV shortening we needed and how many grams of Coconut oil we needed.
"I now know how to can start my own soap business now with this explanation. Thank you very much." Lye is very dangerous when handled incorrectly. Always wear safety gear when making soap, including safety goggles and rubber gloves. Ventilate your area to eliminate lye fumes. If you cannot find lye, check the label on drain cleaners.
Cover yourself with protective goggles, rubber gloves, and long-sleeved clothing. If you get any on your skin, wash it off immediately with cold water. Brew coffee and tea separately from the soap batter.
If you need a liner, freezer papers are available at most supermarkets. Tap water often has minerals that affect how your soap turns out. To avoid this, purchase distilled water from a grocery store. Some calculators have an option for superfatting, which means using extra fat to make the soap softer. For a good default consistency, set the option at 5%.

Use oils and other ingredients to change the soap’s texture. For softer soap bars, heat cooking oil in a separate pan, then mix it into the batter. Olive oil, coconut oil, and vegetable oil are a few good options for softer, silkier soap bars.
If you are in the phase of testing out a handmade business venture, then you might want to go for this. All you need is a soap plodder and the ideal location for the machinery. Then, with the right ingredients and expertise, you will have your soap making business in Kenya running effectively. Silicone soap molds are easy to work with but plastic works too. The mold just needs to be somewhat flexible to allow the cooled hardened soap to pop out. It also needs to be able to hold its shape depending on the heat of the melted soap and weight if pouring a large piece.
Try placing them near a window in your basement or on a countertop. Put them on top of wax paper or another disposable material to prevent the oils from damaging the surface the soap is on. The saponification process takes at least a day to happen. When you remove the soap from the mold, it will be hard and ready for cutting.


No comments:
Post a Comment